UMEinstall
|
Size: 5312
Comment:
|
Size: 5844
Comment:
|
| Deletions are marked like this. | Additions are marked like this. |
| Line 4: | Line 4: |
| == Summary == | = Introduction = |
| Line 6: | Line 6: |
| Test the UME install procedure. == Environment Setup == |
There are several methods for accessing the latest Ubuntu Mobile Edition release. The sections below outline each of the approved build processes. If you have questions of problems with any of these steps, please contact the Ubuntu Mobile QA Group. |
| Line 12: | Line 10: |
| == Xephyr method == | = Xephyr method = |
| Line 14: | Line 12: |
| '''Temporary issue with DNS''' * To work around this issue once your system is installed go to '''Terminal''' * Type {{{vim /etc/resolv.conf }}} * Where the current ip address for your DNS is change it to your default gateway ip address by hitting insert and changing it. * Once changed hit ESC and type ''':wq''' and hit enter. * DNS should now work fine. |
== Initial Setup == |
| Line 30: | Line 21: |
== Project == |
|
| Line 42: | Line 35: |
| == Target == |
|
| Line 46: | Line 41: |
== Launch X in chroot == |
|
| Line 65: | Line 62: |
| == Device == | == FYI == '''Temporary issue with DNS''' * To work around this issue once your system is installed go to '''Terminal''' * Type {{{vim /etc/resolv.conf }}} * Where the current ip address for your DNS is change it to your default gateway ip address by hitting insert and changing it. * Once changed hit ESC and type ''':wq''' and hit enter. * DNS should now work fine. = Flashing your Device = |
| Line 67: | Line 74: |
| == Warnings == | |
| Line 69: | Line 77: |
| * ''''' Flashing your device with the image will overwrite all the data on the device. Backup valuable data before continuing.''''' == Get latest release == |
|
| Line 72: | Line 83: |
== Load image to Pen Drive == |
|
| Line 85: | Line 98: |
| == Flash Device == |
![https://wiki.ubuntu.com/Testing/Cases/UMEScreenshots?action=AttachFile&do=get&target=main-screen-tn.png][[BR]][[TableOfContents(2](https://wiki.ubuntu.com/Testing/Cases/UMEScreenshots?action=AttachFile&do=get&target=main-screen-tn.png][[BR]][[TableOfContents(2)
Introduction
There are several methods for accessing the latest Ubuntu Mobile Edition release. The sections below outline each of the approved build processes. If you have questions of problems with any of these steps, please contact the Ubuntu Mobile QA Group.
Include(Testing/Cases/UMEinstall-kvm)
Xephyr method
Initial Setup
Download the latest tarball
Download the latest project tarball from the [http://cdimage.ubuntu.com/moblin/hardy/menlow : Build Area]
Install and run Moblin Image Creator
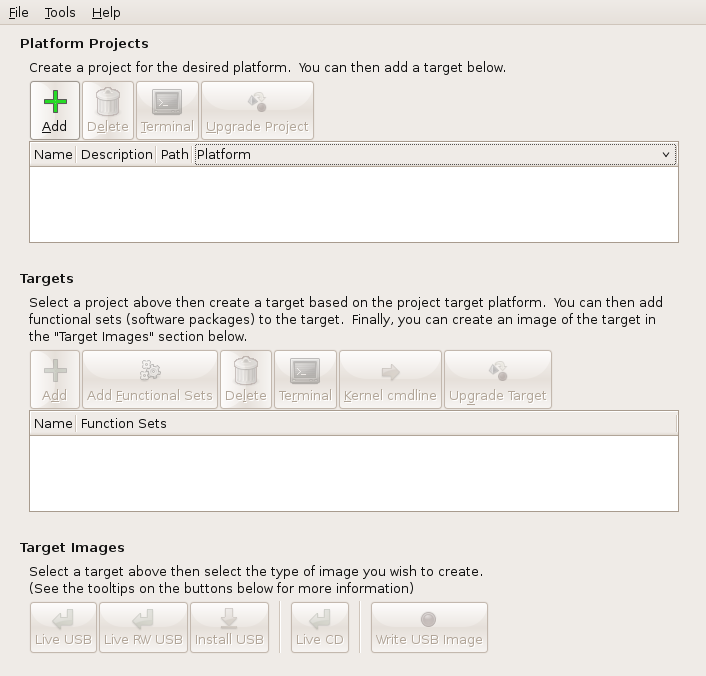
In Ubuntu go to System -> Administration -> Synaptic Package Manager. Install Moblin-Image-Creator.
Go to Applications -> Programming -> Image-Creator
Project
Install the Tarball
In Image-Creator go to File -> Load Project.
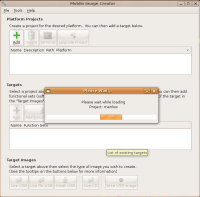
Follow the steps Create a name, Select tarball, Select a folder. Now wait while the image is created.
Setting up the environment
Select project in Platform Projects window in MIC interface.

![https://wiki.ubuntu.com/Testing/Cases/UMEinstall?action=AttachFile&do=get&target=mic2-tn.png][https://wiki.ubuntu.com/Testing/Cases/UMEinstall?action=AttachFile&do=get&target=mic3.png](https://wiki.ubuntu.com/Testing/Cases/UMEinstall?action=AttachFile&do=get&target=mic2-tn.png][https://wiki.ubuntu.com/Testing/Cases/UMEinstall?action=AttachFile&do=get&target=mic3.png)
![https://wiki.ubuntu.com/Testing/Cases/UMEinstall?action=AttachFile&do=get&target=mic3-tn.png][https://wiki.ubuntu.com/Testing/Cases/UMEinstall?action=AttachFile&do=get&target=mic4.png](https://wiki.ubuntu.com/Testing/Cases/UMEinstall?action=AttachFile&do=get&target=mic3-tn.png][https://wiki.ubuntu.com/Testing/Cases/UMEinstall?action=AttachFile&do=get&target=mic4.png)
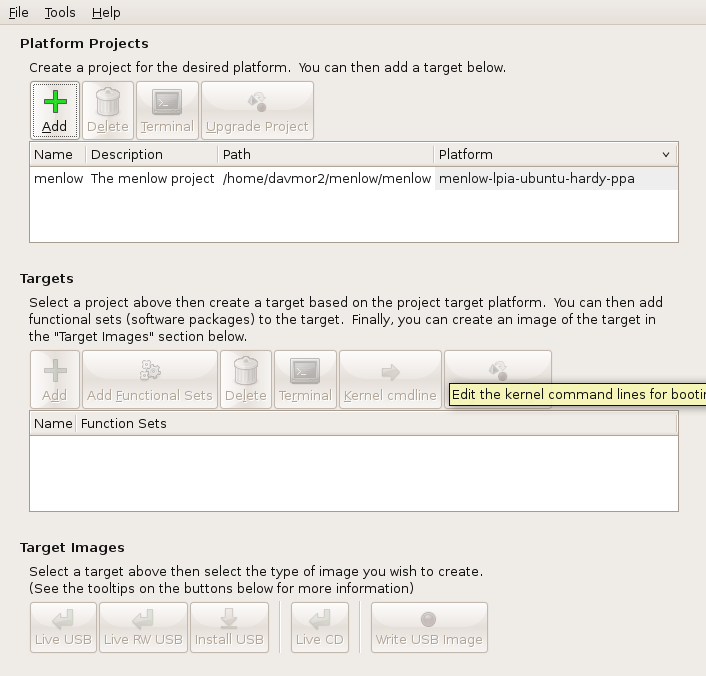
Target
Setting up the target
Select target in Targets window in MIC interface.
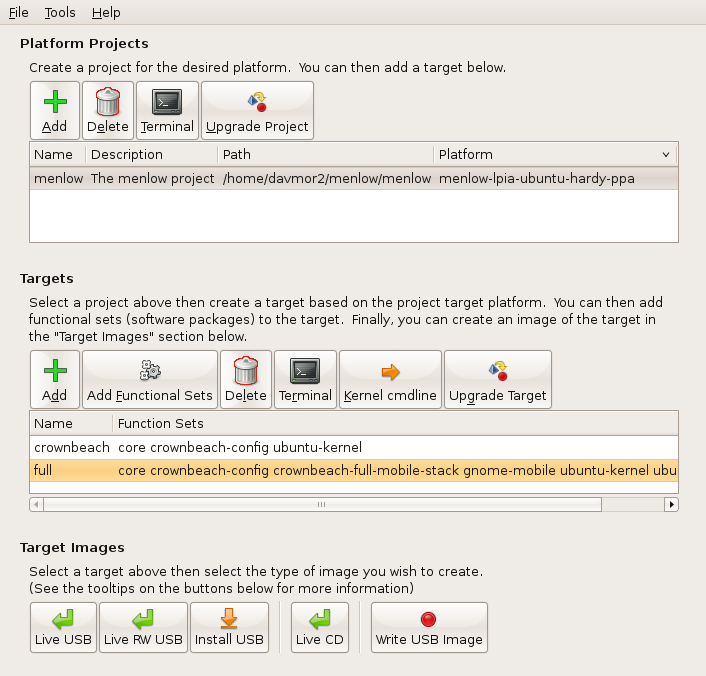
Launch X in chroot
Run the setup script
Click the Terminal button in the Targets section.
- Inside the target terminal type:
{{{ume-xephyr-start }}}
- this script does the following:
- # apt-get install xserver-xephyr # export DISPLAY=:0 # /etc/init.d/dbus start # xinit /etc/X11/xinit/xinitrc -- /usr/bin/Xephyr :2 -host-cursor -screen 1024x600x32 -dpi 96 -ac

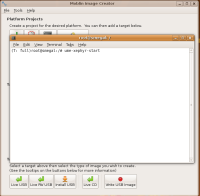
You should now have a working environment
FYI
Temporary issue with DNS
To work around this issue once your system is installed go to Terminal
- Type {{{vim /etc/resolv.conf
}}}
- Where the current ip address for your DNS is change it to your default gateway ip address by hitting insert and changing it.
Once changed hit ESC and type :wq and hit enter.
- DNS should now work fine.
Flashing your Device
Warnings
It's vital you read this
Be sure to download the correct build for the chipset in your test device
Flashing your device with the image will overwrite all the data on the device. Backup valuable data before continuing.
Get latest release
Download the latest Tarball
Download the latest image from the [http://cdimage.ubuntu.com/moblin/hardy/ : Build Area]
Load image to Pen Drive
Insert your pen drive
Insert Empty USB thumbdrive. A 1gig drive or greater is recommended although the image may fit on smaller drives.
Download and run Moblin-Image-Creator
Under Ubuntu go to System -> Administration -> Synaptic Package Manager.
- Install Moblin-Image-Creator as above.
Go to Applications -> Programming -> Image-Creator
In Image-Creator go to Tools -> Write USB Image
Select the image and wait
- Browse to the *.img file you retrieved from the Build Area and create the image to thumbdrive
Flash Device
Putting the image to use
- Insert USB thumbdrive into the MID device and restart the device.
You should now have a working environment
Final Step
So you got it installed, what now?
- Go to ["../UMEdesktop"]
Testing/Cases/UMEinstall (last edited 2009-02-06 09:03:09 by port-213-160-23-156)